
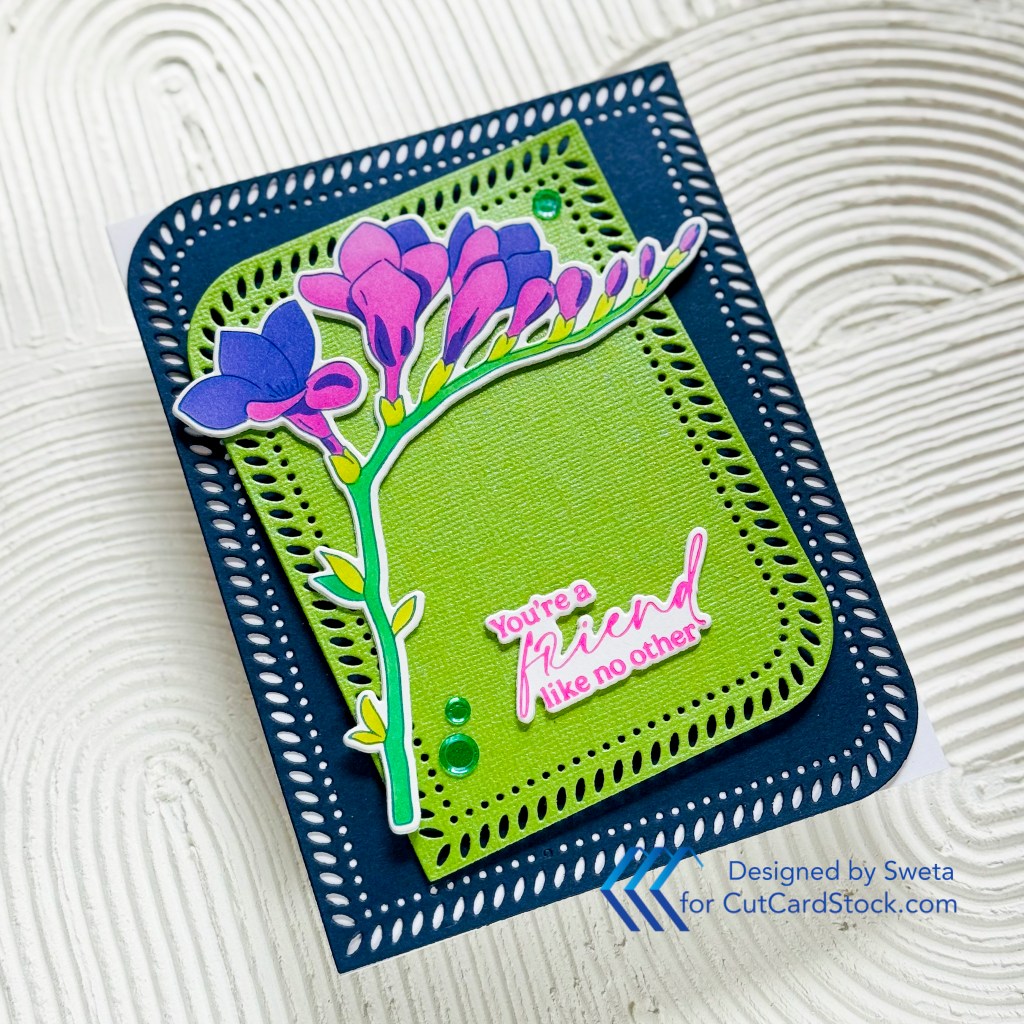
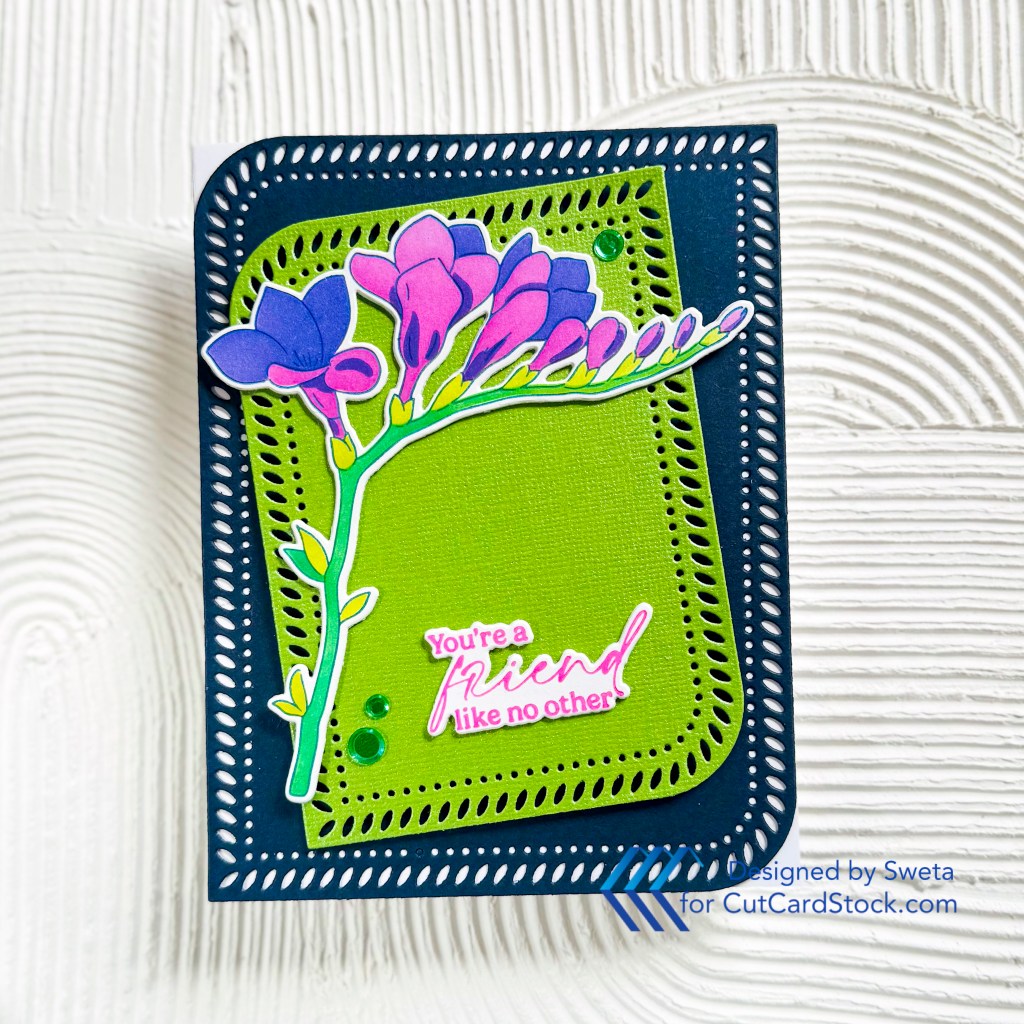
I’ve been spending a lot of time in the craft room lately experimenting with ways to make my cards feel more “boutique.” You know that feeling when you pick up a card and it just feels heavy and expensive? That’s what I was chasing with this Freesia project.
I decided to skip the foam tape for the main image and try “stacking.” By gluing three layers of cardstock together, I got this amazing, crisp dimension that looks so professional. I paired it with some of my absolute favorite papers—that Lessebo Navy is so dreamy and the Green Curry Pearl adds just enough shimmer without being “too much.”
If you want to see the full list of inks I used and the step-by-step breakdown of how I did the stenciling, I have a guest post live over at CutCardStock!
[Check out the full tutorial here!]
Cardstock:
Heavy Recycled Conservation White 110 lb cover (For stenciling)
Lessebo Colors NAVY BLUE 83lb Cardstock
DCS Texture Pearl Green Curry 4×6 Card Stock
Classic CREST Smooth 130 lb (For the base)
Stamps & Dies:
Pinkfresh Studio Freesia Flourish PressPlate, coordinating stencils, and dies; Rounded and Braided Rectangles dies purchased from ScrapbookPal.com
Inks:
Better Press Ink in Sapphire; Catherine Pooler Inks (Be Mine, Grape Crush, Lemongrass, Mardi Gras).
Adhesives:
Bearly Arts Liquid Glue, Foam Tape

