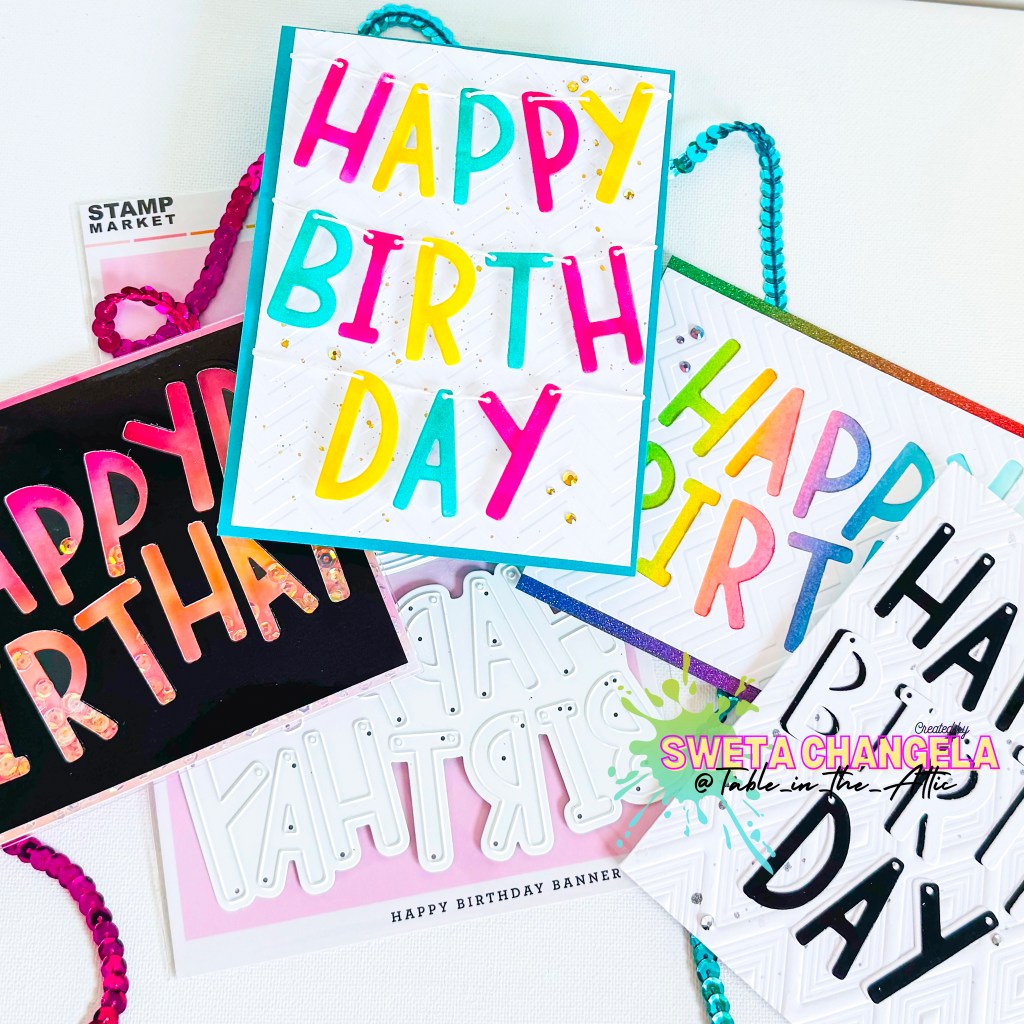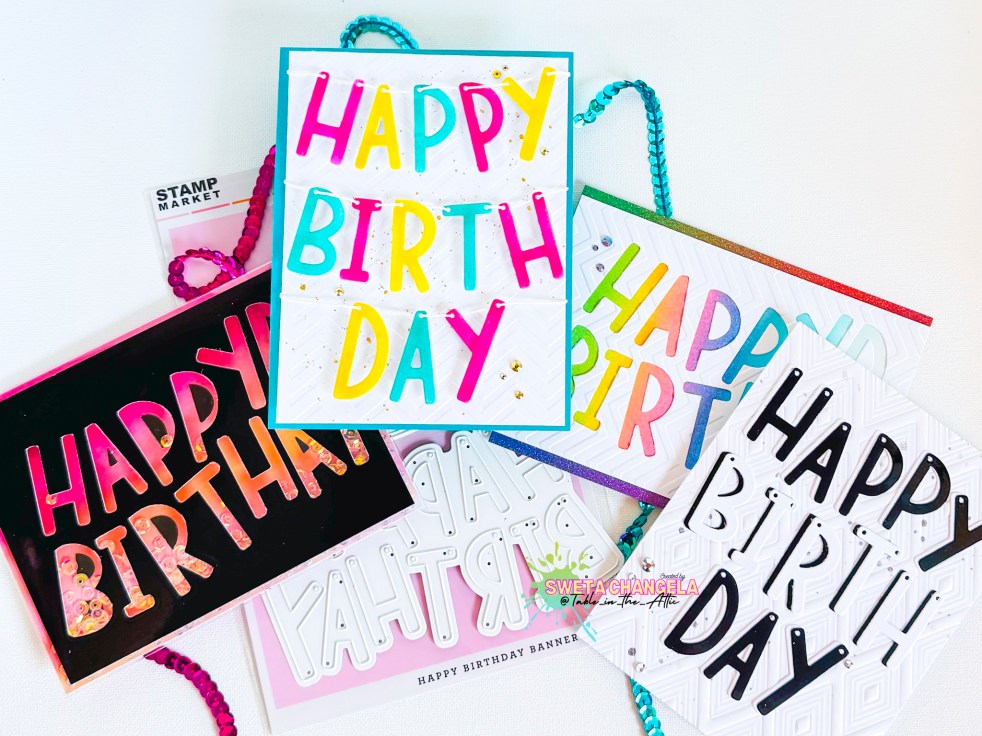
Well who doesn’t like to get more usage from their crafty supplies. Today I’m sharing 4 different cards made from the same die.
I am using the Happy Birthday Garland Die from The Stamp Market. I’ve had this one for a little while now but hadn’t been able to use it. And with the fresh new crafty year starting I thought to myself “let’s start with something brand new!” So here it is…
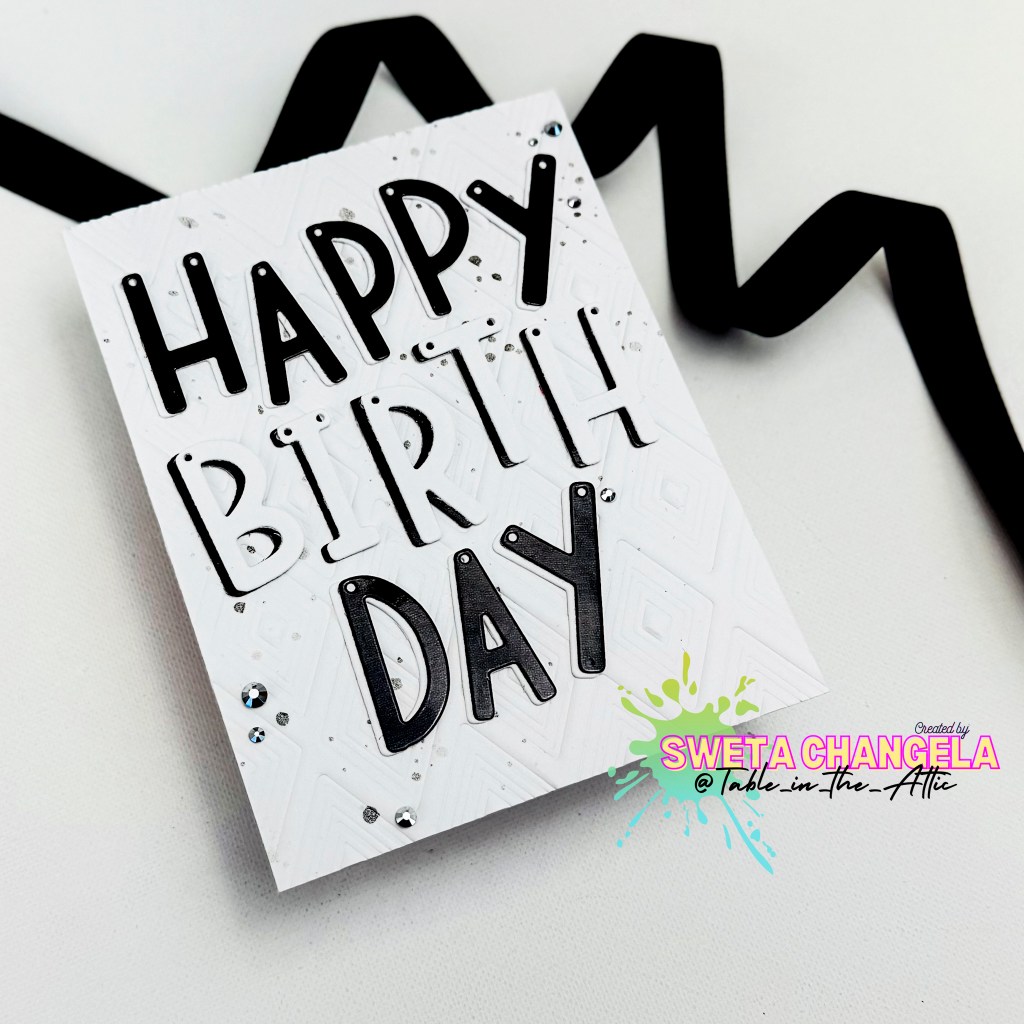
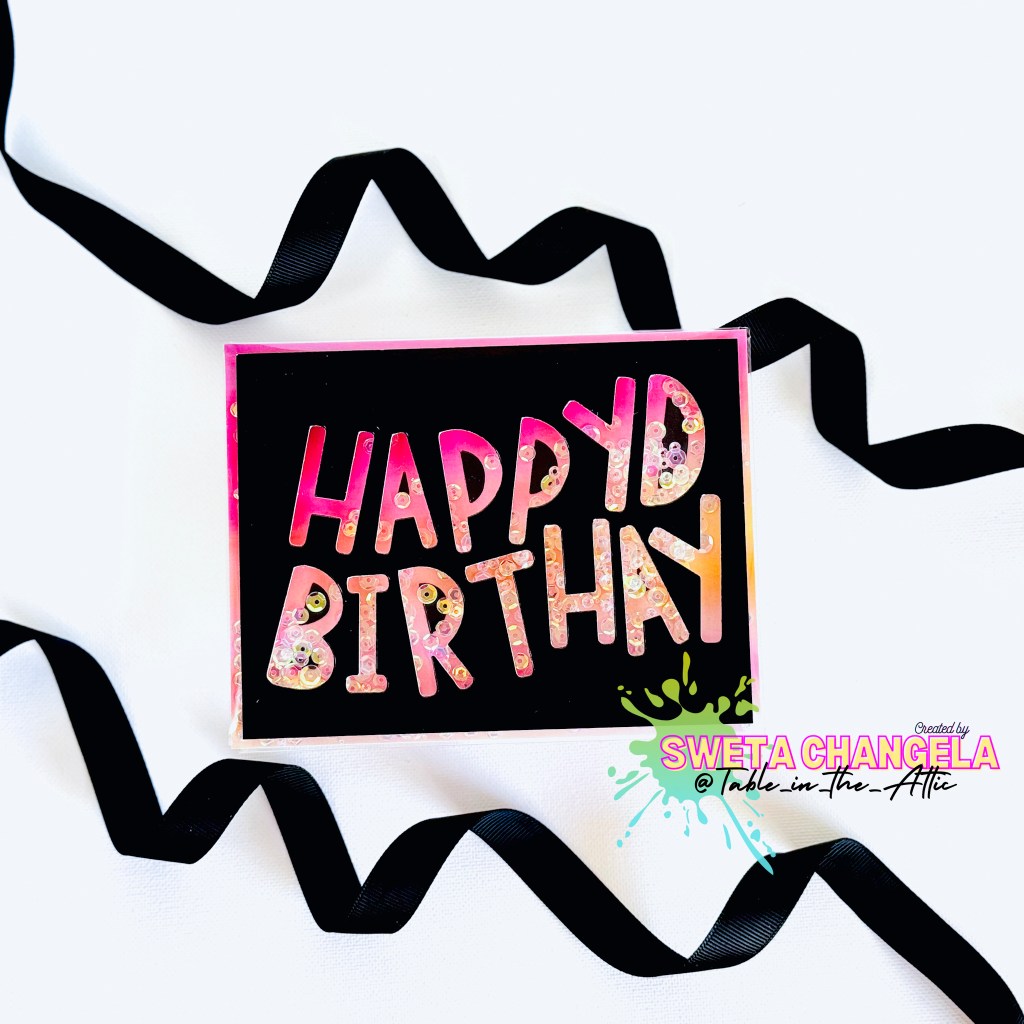
For the first card I kept it simple with only 2 colors – black and white. Main reason being my struggle to craft up cards suitable for masculine birthdays. I used the Diamond Dazzle Hot foil plate from Crafty Meraki but instead of hot foiling I used a silicone mat with my die-cutting machine to achieve a beautiful texture from the plate instead. I used the garland die once to cut out letters from plain white panel and then again from a black mirror card stock. I arranged stacked these to create a shadow layer. I added a bit of Distress Spray in pewter to add some splatter and adhered the letters onto the textured white panel.
Watch the full video tutorial here on my Youtube Channel.
For the second card I used the black mirror cardstock panel that was left over from the first card. Under that I cut out an A2 sized ombre colored panel from Color Cascade Paper pack from Crafty Meraki. Using the black panel as my guide I glued back the little pieces (let’s call them the innards of alphabets =P) onto the color panel. After that I used A2 shaker pocket from Crafty Meraki over it making sure to seal all the edges except one and added in my sequins mix from Gina K. Once ready I closed it up and removed the protective film and adhered the black panel onto it. And that was it! Shaker pockets are so easy to use and so much less messy! No more fighting with the foam tape!
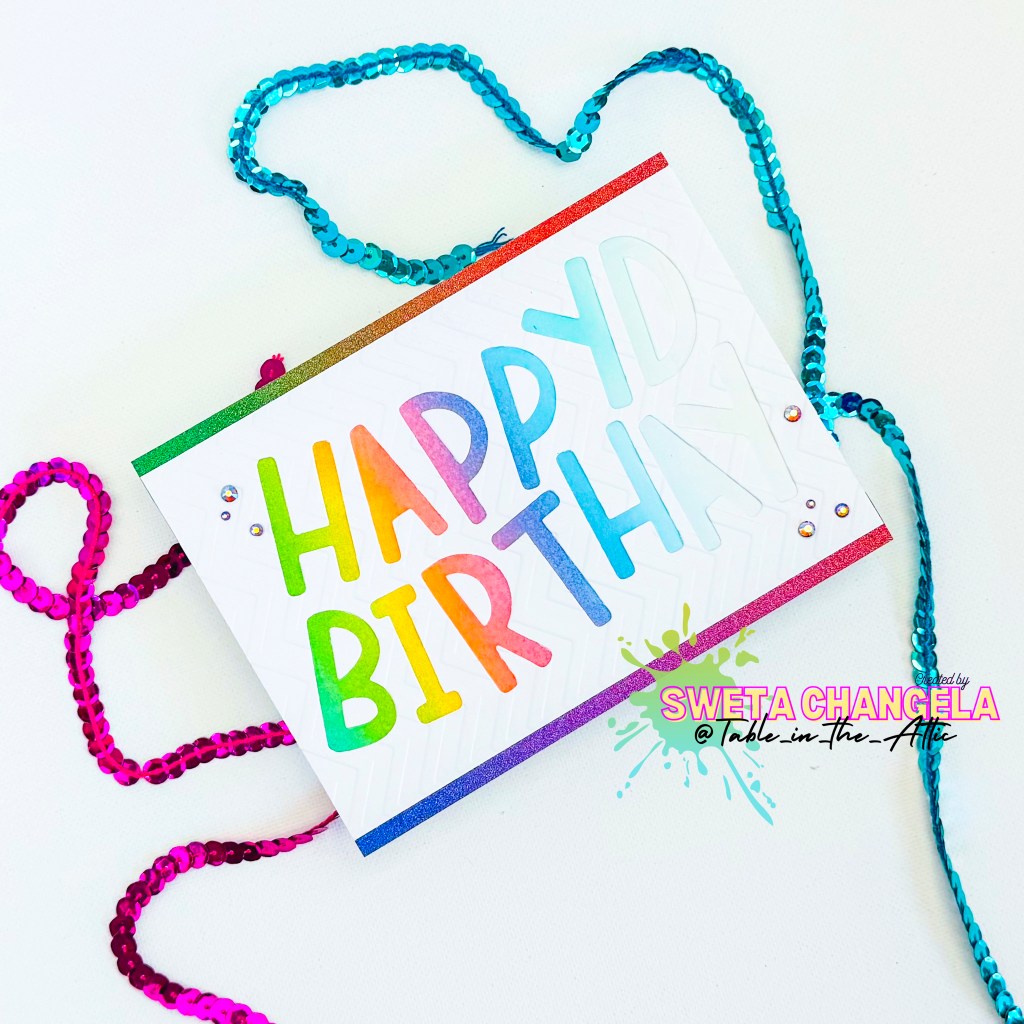
For the third card I used the die to cut out some more letters from a white card stock and saved the negative as well just like the black mirror card stock above. I inked up (Fuchsia, Sunshine and Island) these letters alternatively using Altenew Stamp Wheel to hold them down. For the background panel I used one of the Darice embossing folders I had in my stash. Again, a little bit of splatter with some gold paint and panel was ready for adhering the letters forming Happy Birthday. I added foam tape under the letters for extra dimension. And a tiny bit of bling to finish the card.
For the bonus card I used the left over white panel from above and under it simply added an ink blended panel I had sitting in my stash. It was as easy as gluing it together and adding a strip or two of ombre glitter paper on the top and bottom to finish the card.
These cards are also part of the Create it 3 Ways IG Hop being hosted by Amrita over on Instagram. Join us there!